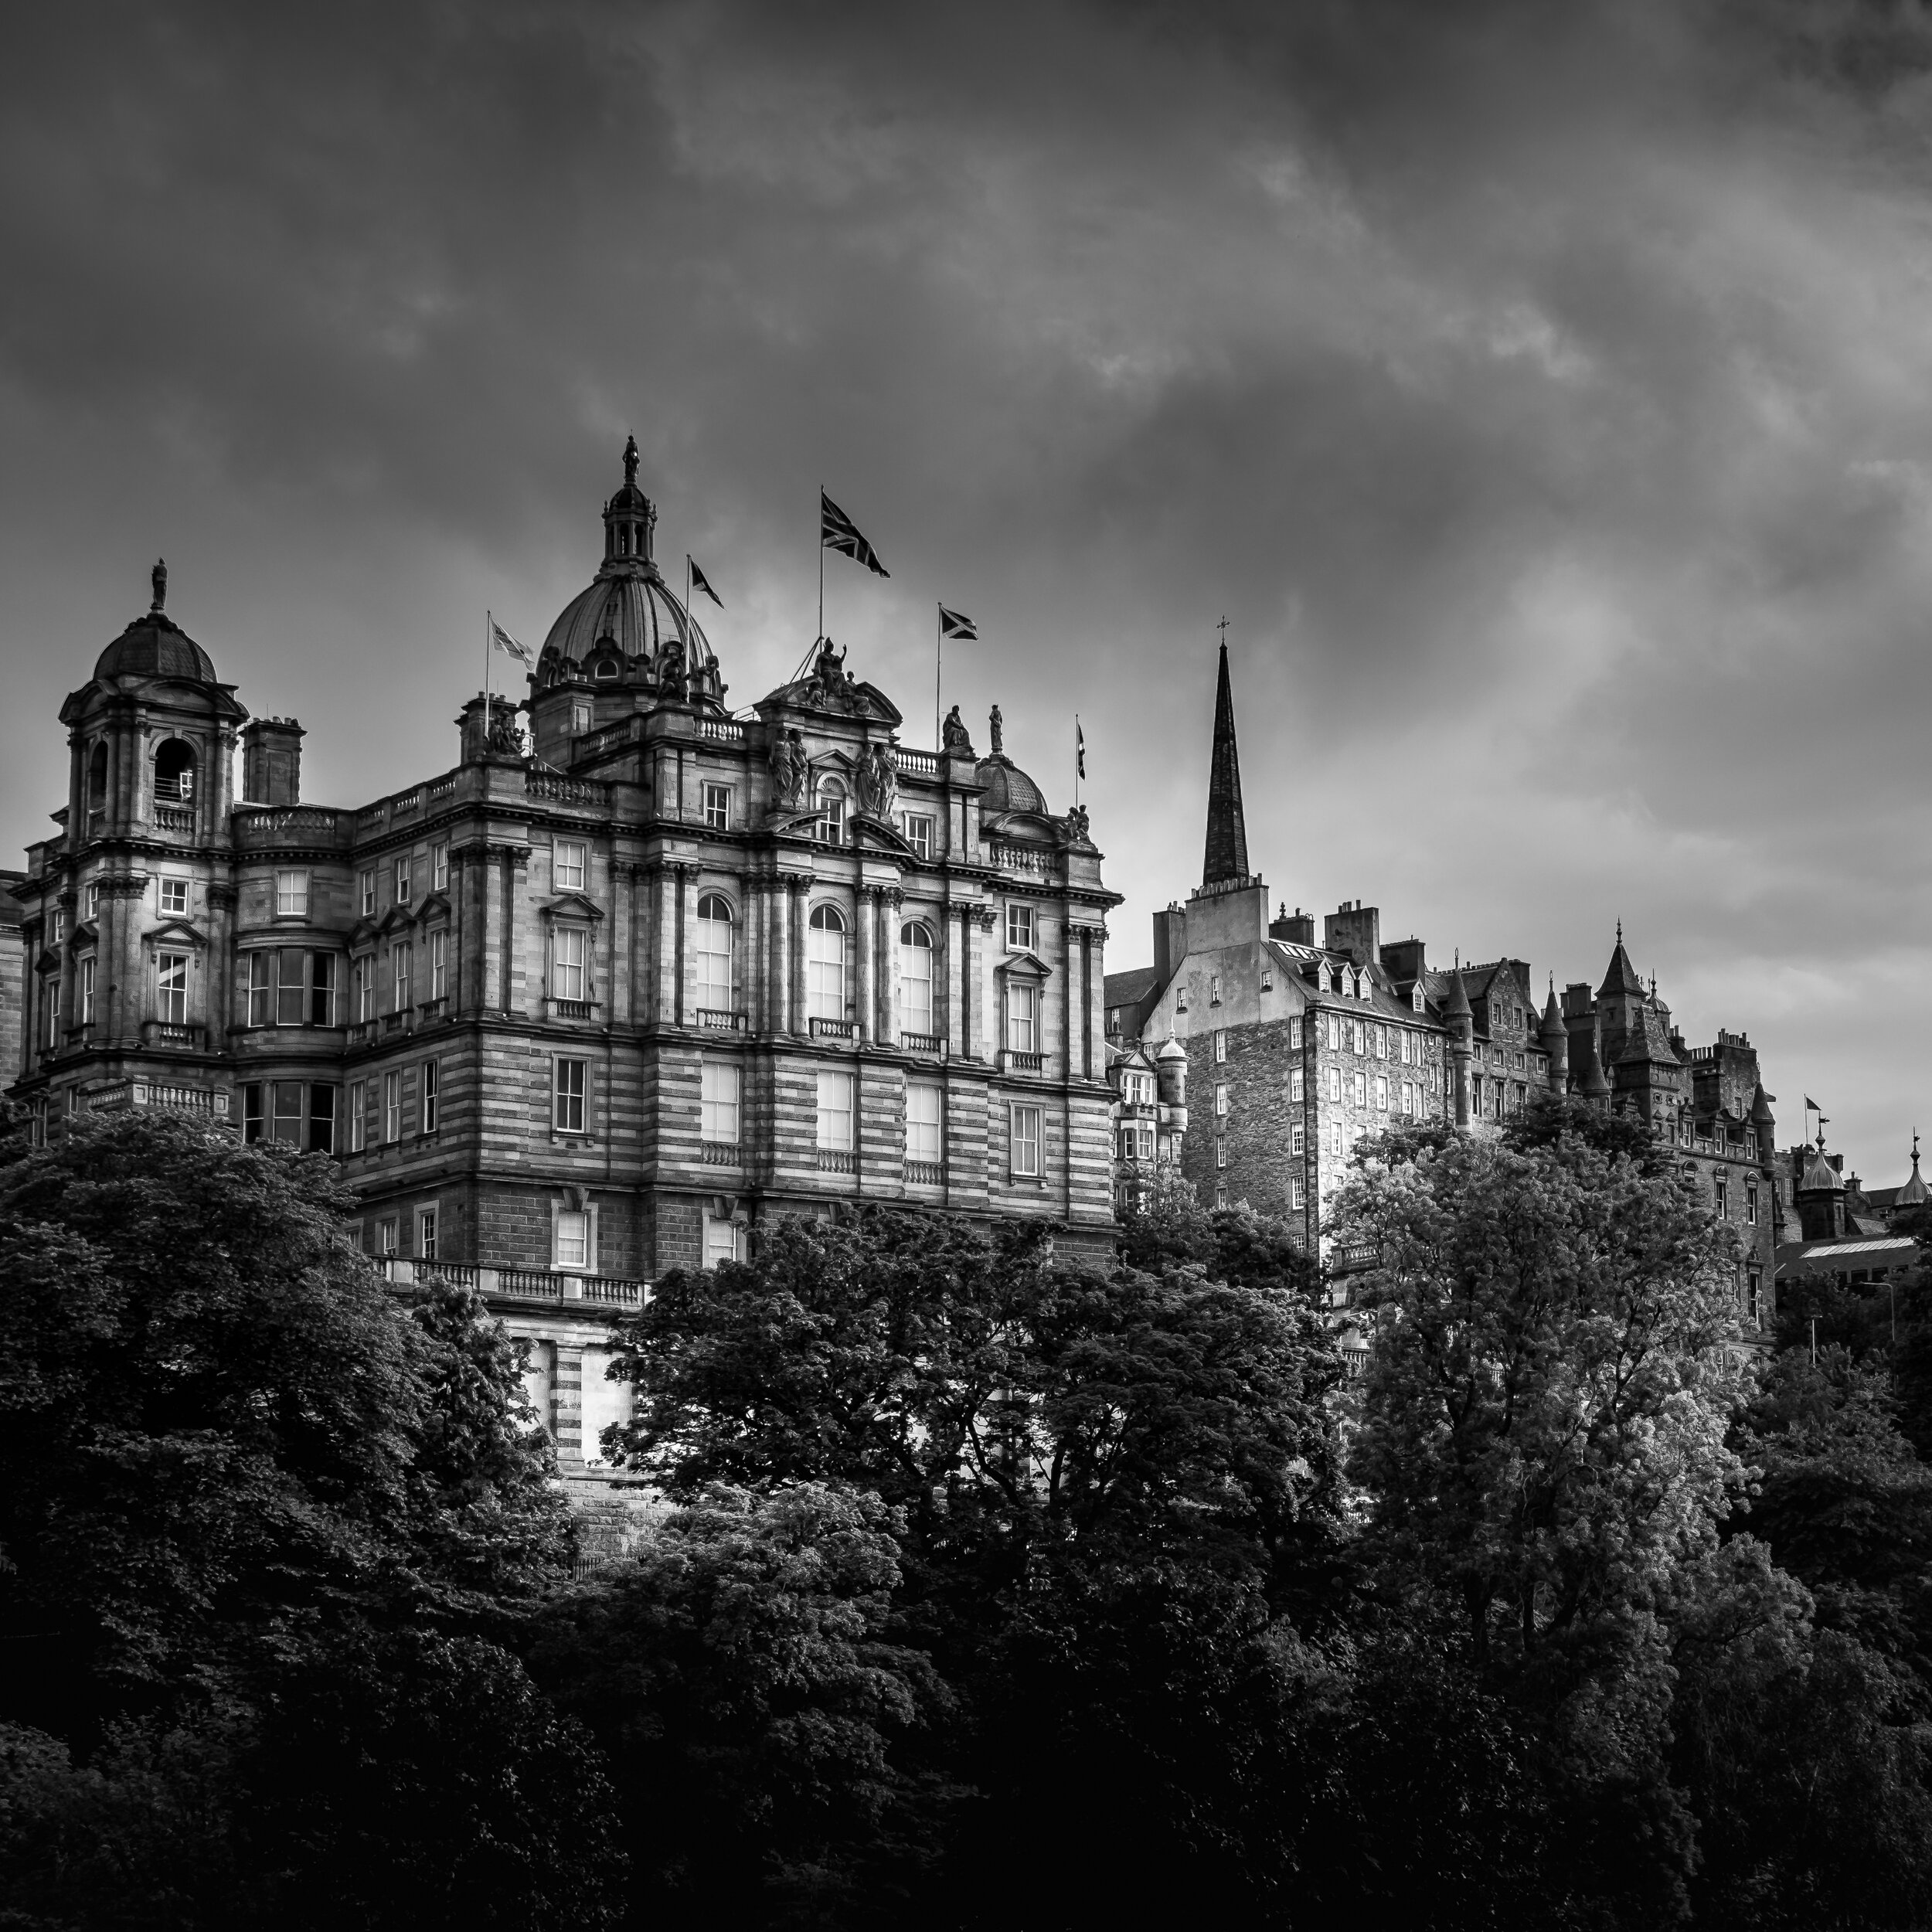
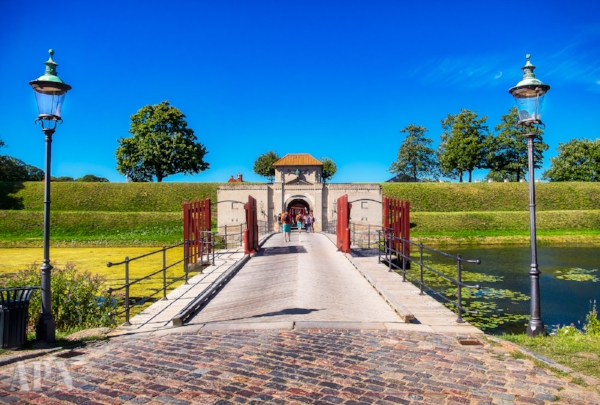
#project365 year1 [day 016] going overground

The Chicago Loop is the designation for the towns central business district, it's name comes from the elevated railway loop that was built there to facilitate railway traffic bringing workers and goods to the central part of the city. Here it seems I just missed my train...

There goes the "L"

-- Gear
Fujifilm X-T1
Fujifilm XF18-135mmF3.5-5.6R LM OIS WR
-- Post
Lightroom : Initial tone and final crop.
Photoshop: Clean up and sharpening.
NikCollection Color Efex Pro 4: Toning and Detail extraction.

Long Exposures & Filters 3

For the last part of this post series dedicated to Long Exposures I wanted to give a brief overview of the equipment I am using at the moment, and also go through one photo from start to finish, from the idea to the finished product. 

By now you know I have chosen to go for the Lee Filters system, and the main reason I made that choice.  I got their Seven5 system, designed for Compact System Cameras, which is a lot smaller and slightly cheaper also. There is a trade off however, specially if you are using Fujifilm X cameras, the maximum thread size is 72mm and at that point vignetting is an issue for wide lenses. So some care is needed when pairing this with the wonderful Fujinon 10-24mm.

For my first field test with the filters I picked up my trusty X-PRO1, paired with the 18mm prime lens and a GorillaPod Focus, and set off to the Western side of the Isle of Dogs to capture some nice views of the Thames. This has become my lightest setup for capturing long exposures in the city, where you can always find a place to put the GorillaPod on, the 18mm is just wide enough, and it all fits on a bag made to carry one DSLR with a single lens. I chose the spot because at that time of the day the sun won't be in the frame and will give a great contrast with the clouds. The traffic on the river will add lots of money movement to the water, and might result in some interesting subjects coming into the frame.

When choosing my composition, I wanted to have a stationary object in the foreground, and ideally in the river like the post you can see on the right side of the frame. The railings gave me a support for my GorillaPod, and I thought would also add some interest to the foreground. After the camera as in place, I started taking some test shots, still with no filters, so I could get base values for exposure. At this time I shot a few frames capturing some passing boats, which I thought might come in handy later. At this point exposure values were 1/250s @ f/11, ISO200.

breaking the stillness of the thames
25s @ f/11, ISO 200

Since at this point I only have a couple of ND grads (Neutral Density graduated), namely the 0.9 hard, and 0.6 soft, the choice here was simple. With a clear line dividing the sky from the ground, the hard grad was the initial choice. The bright cloudy sky was just about 4 stops brighter than the river, which makes the 0.9 also the best choice. With the ND grad in place, I took a few more shots to evaluate its positioning and overall exposure, before I got the BigStopper out.

Placing the BigStopper in front my lens drops the exposure by 10 stops, which my camera meter was able to tell me would be 15s @ f/11, which I used as the starting point for the final exposure value. Dialling those values in manual mode, and reviewing the test shot it looked like a good image. But looking into the histogram, there still was more information I could get in the photo, so I pushed the exposure up until the highlights began to clip. This got me to the photo final exposure of 25s,and a very smooth water texture but still not enough to blur the clouds.

Post processing here was actually very simple. Like normal I start off in Lightroom to get as much information as possible from the RAW file, by flattening the whites and blacks a small amount, and since the BigStopper leaves a light cool color cast, also warm-up the image using the White-Balance slider. Although the end result was a black and white photo, I always start with a flat and calibrated color image.

In this image, I thought that the color didn't add anything interesting to the mix, and by making it Black & White it would accentuate the graphical nature of the few elements present in the foreground. With the bold clouds in the sky as a source of drama to offset the stillness of the water. The conversion was made in Lightroom also, using it's inbuilt Black & White Mix tool to darken the blue in the skies and lighten the greens of the trees on the other side of the river.

I also applied the same settings to another image I had taken which featured a fast boat streaking through the river, so that both images could be transferred as layers into Photoshop.

Inside Photoshop, I added the streaking boat and water trail to my main image, before starting the final touch ups. Since this would be a small detail on the end image, I thought that it would not be distracting to add it, and would offer some interest when the viewer looked more intently at the finished image. Next I used the Orton effect to add a bit of a glow effect to water, and used Nik Silver Efex Pro to add more drama to the sky.

That is the whole story of this image, which actually took longer to write than it took to actually take the image and process it, but might be due to my very slow writing!
Hope this was of some value to any readers, and for now I'll stop with these very long posts. Any comments and questions are welcomed, and I'll do my best to get back to you promptly.

APN

-- Gear 
Fujifilm X-PRO1 
Fujifilm XF 18mmF2 R 
GorillaPod Focus tripod
Filters : Lee Seven5 Big Stopper + 0.9 hard ND
-- Post 
Lightroom : Initial tone and final crop. 
Photoshop: Clean up and sharpening. 
NikCollection Silver Efex Pro : Toning and Detail extraction.

#project365 [day 74] Fifth Avenue Presbyterian

NewYork_20150322_082

Fifth Avenue at Midtown Manhattan, NYC, is known worldwide as the epicentre of designer shops and luxury retail. But like many other idiosyncrasies in the city, you can also find some sanctuaries for the soul. Here is the Presbyterian Church, located on Fifth Avenue at 55th Street. In 1875, when it was dedicated, it was the tallest building in Manhattan with its steeple rising 87 meters high. Designed by Carl Pfeiffer, whose engineering skills are evident in the technological innovations he introduced in the sanctuary. Wooden louvers installed beneath the pews allowed warm air to rise into the sanctuary from steam pipes in the basement. On warm days, enormous blocks of ice were delivered to the basement, where fans blew cooling air upward. The Sanctuary did not have modern air conditioning until 2003. 

-- Gear
Fujifilm X-PRO1
Samyang 8mm f2.8 Fisheye
-- Post
Lightroom : HDR photomerge, initial toning and final crop
Photoshop: Manual layer blending, sharpening and colour blending
NikCollection Color Efex Pro 4: Toning and Detail extraction